Build Server Traffic Lights
October 16, 2013 -
I’ve wanted real build server traffic lights since I first implemented a Continuous Integration server in the mid 2000s. In those days, the trendy thing to do was to hook up red & green lava lamps to your build server, but CCTray’s red/green/yellow status indicators always seemed better suited to traffic lights. However, it was something that always got put in the ‘someday’ pile. More recently, I’d become interested in hardware automation platforms like Arduino, and it seemed like an ideal first project, so I dusted off the concept.
Obtaining the traffic light unit itself was relatively straightforward - in WA, the old style incandescent units are being progressively replaced with LEDs, so the reasoning was there’d be some that are superfluous to requirements. A few phone calls later, I managed to track down the contractor handling the replacement and do a beverage-related deal for a second-hand traffic light. The hardest part was actually explaining what I intended to do with it!
These traffic light units don’t contain any switching logic or complex electronics at all - they have a 240VAC feed for each light, with industrial grade internal transformers stepping down to 10V and driving 20W high-pressure bulbs. I’d seen reports that the standard bulbs were too bright for indoor use, but a test run showed it was probably just okay, and it was certainly much simpler to keep the lighting as-is while I got the rest of the hardware working.
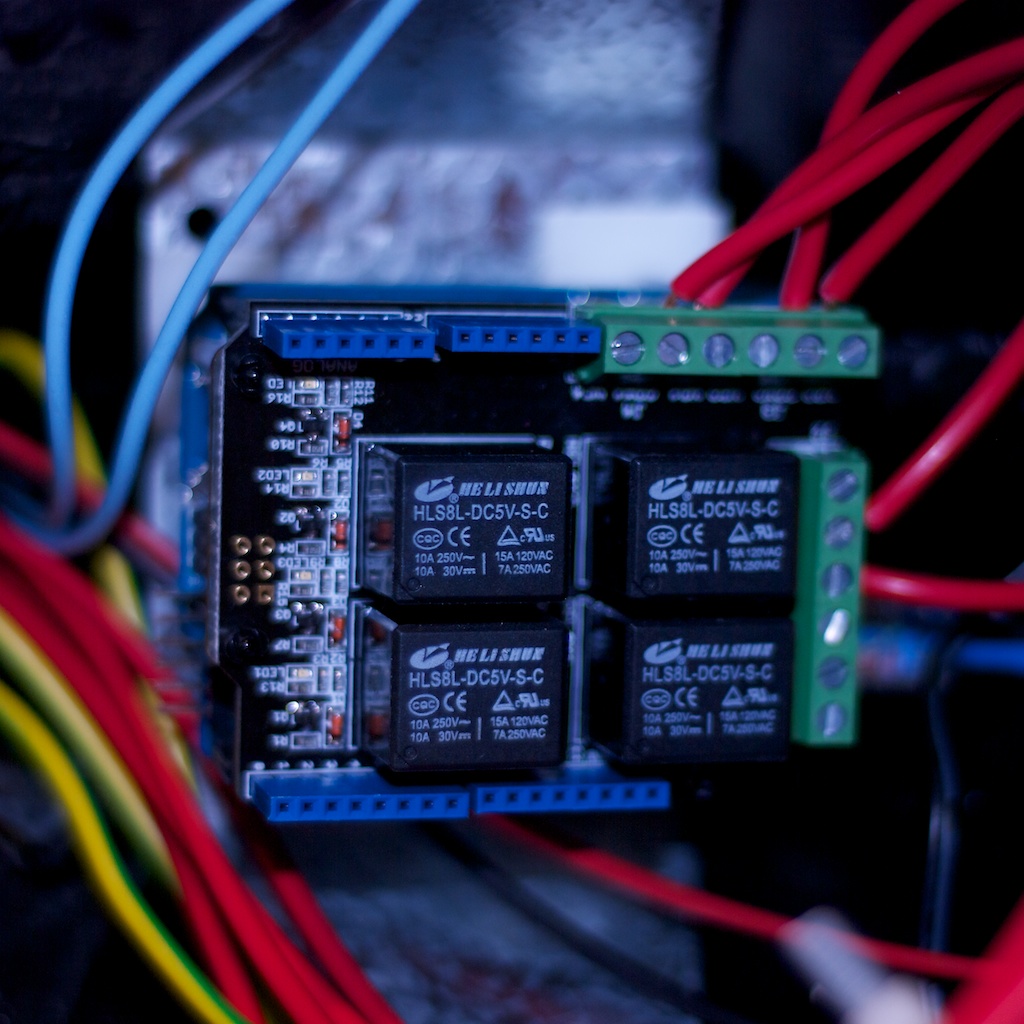 The intention was to run the lights as a networked device (rather than a USB one, requiring an active host computer), as this would enable more flexibility in installation. I ordered an Arduino Ethernet and relay shield from Little Bird Electronics, and set about coding the controller software.
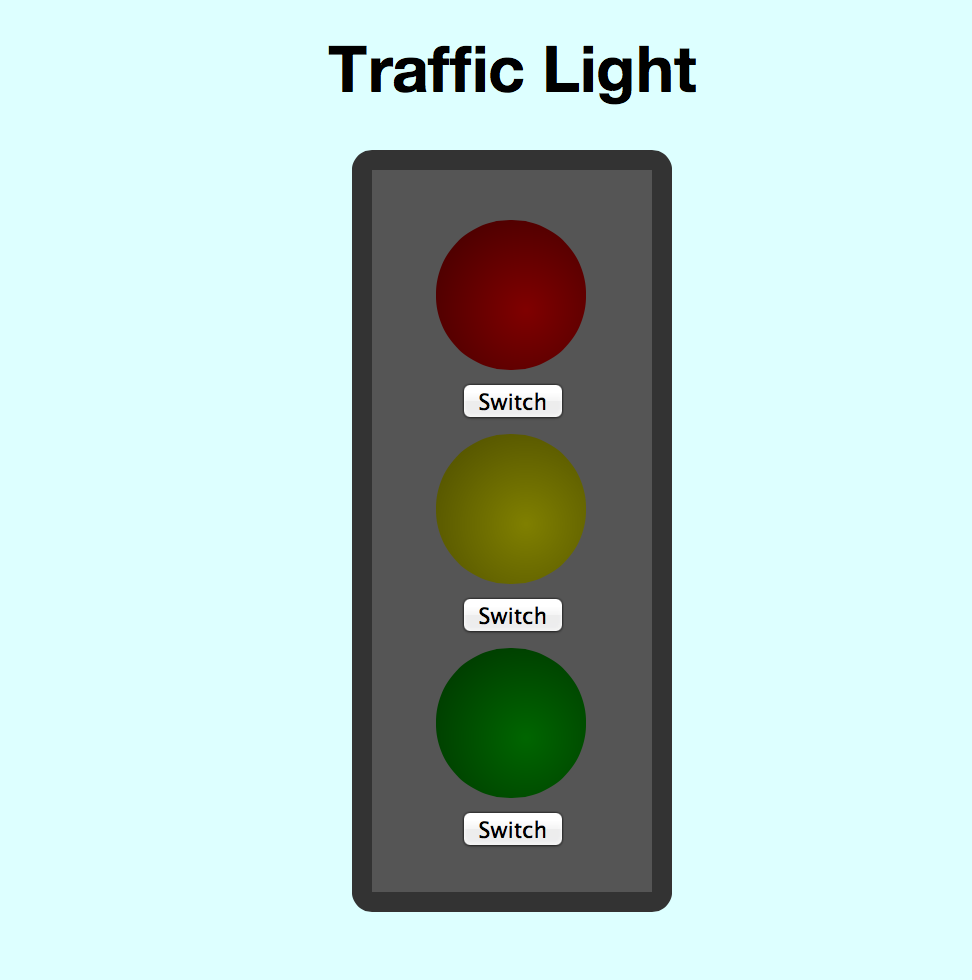
The code is available online here - it’s adapted from a similar project by Dirk Engels. The Arduino runs a web server that serves a page displaying the current status of the light, as well as buttons to control the light and RESTful control URLs to provide build server integration. My main changes to the design were:
- Integration of a DHCP library, to remove the hard-coded IP address and make it possible to move the light between networks without reprogramming.
- Bonjour support, to advertise the light at ‘traffic-light.local’ and remove any requirement for DNS entries/DHCP reservations on the network.
- A failover mode that flashes amber if the light has not heard from the build server in over 5 minutes. This mimics real world behaviour and seemed more appropriate than turning off or displaying the last known state indefinitely.
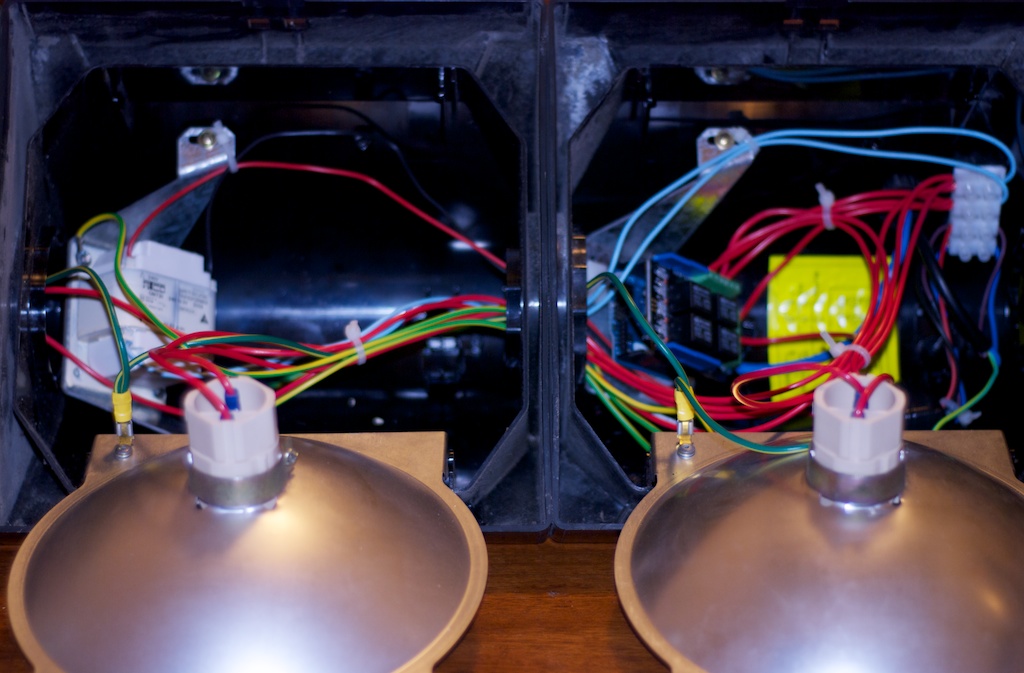
Wiring in the controller was pretty simple - the 240V mains feed powers the 9V DC power supply for the Arduino, as well as the 10V transformers for the lights via the relay shield. Initially these were switched on the high-voltage side, but the inrush current appeared to play havoc with small switch-mode power supplies (i.e. phone chargers) on the same circuit, so I rewired to switch on the low-voltage side. This also allowed me to remove two of the transformers and freed up some internal space; I ended up being able to neatly mount the controller on one of the unused transformer brackets.
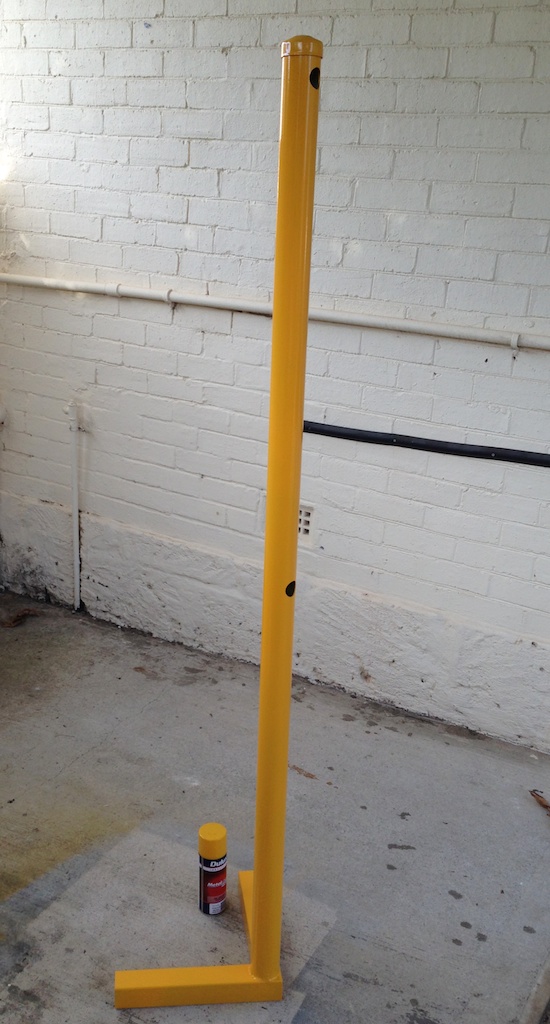 Obviously the light needed a pole; I constructed one using galvanised fence post and some sub-par oxy welding. I would have liked to run the wiring down inside the pole, but unfortunately the size of the mains plug was going to make this difficult (given I wanted the light to stay easily removable). A few coats of suitable yellow paint and it was good to go.
After installing the light in the office, we developed a small powershell script to query the build server and update the light. It’s had a significant benefit in putting the build status unavoidably in front of the developers, and the builds have become noticeably more ‘green’ than they have been for some time.
There are a few areas I’d design differently if I did it again:
- Use a hardware flasher circuit for the failover mode (via the fourth relay) - the software flasher works okay, but there's a noticeable stutter in the flashes if the controller is doing something else (like responding to a web request). I’m not enough of a hardware whiz to build one of these though.
- Install bulkhead RJ45 & 3-pin PC power connections on the traffic light housing, so that the cables are detachable - this would permit variable cable lengths and potentially allow routing inside the pole.
- Use low-wattage bulbs rather than the specialised 20W high pressure bulbs - the traffic light is a bit bright straight-on. Unfortunately the existing bulb holders have a unique bayonet mount and they’d need to be replaced with something else (e.g. automotive BA15S).